Configure phpMyAdmin on Linux
How to Install and
Configure phpMyAdmin on CentOS 6
Introduction:
phpMyAdmin is
a free software tool written in PHP, intended to handle the administration of
MySQL over the Web. phpMyAdmin supports a wide range of operations on MySQL and
MariaDB. Frequently used operations (managing databases, tables, columns,
relations, indexes, users, permissions, etc) can be performed via the user
interface, while you still have the ability to directly execute any SQL
statement.
phpMyAdmin comes with a wide range of documentation and
users are welcome to update our wiki pages to share ideas and how to use for
various operations.
Pre-Requirements and Checks
These instructions are intended specifically for
installing phpMyAdmin on CentOS 6.
A LAMP, Linux, Apache, MySQL and PHP, must be installed
on your server if you needed to install LAMP please click here
1: Add the EPEL
Repository
phpMyAdmin is part of Extra Packages for Enterprise Linux
(EPEL), which is a community repository of non-standard packages for the RHEL
distribution. First, we’ll install the EPEL repository:
# rpm -iUvh
http://dl.fedoraproject.org/pub/epel/6/x86_64/epel-release-6-8.noarch.rpm
Step 2: Install phpMyAdmin
First, you’ll follow a simple best practice: ensuring the
list of available packages is up to date before installing anything new.
# yum -y update
Then it’s a matter of just running one command for
installation via apt-get:
# yum -y
install phpmyadmin
Step 3: Find Your IP Address
Find your IP address with any of the following sites:
What’s My IP Address?
What Is My IP?
My IP Address
Step 4: Basic Configuration for phpMyAdmin
To secure phpMyAdmin we should lock down access to a
specific IP address. When the phpMyAdmin package is installed, an Apache
Virtual Host file is added to configure web access. Let’s edit that file:
# vim
/etc/httpd/conf.d/phpMyAdmin.conf
For a refresher on editing files with vim see: New User
Tutorial: Overview of the Vim Text Editor
By default, the configuration for phpMyAdmin only allows
access from the server on which it is installed. Find the following sections
and change each IP address to the one you found in Step 3, or another IP
address that will be connecting to phpMyAdmin remotely:
Require ip 127.0.0.1
Allow from 127.0.0.1
Require ip 127.0.0.1
Allow from 127.0.0.1
Then exit and save the file with the command :wq .
Restart Apache:
# service httpd
restart
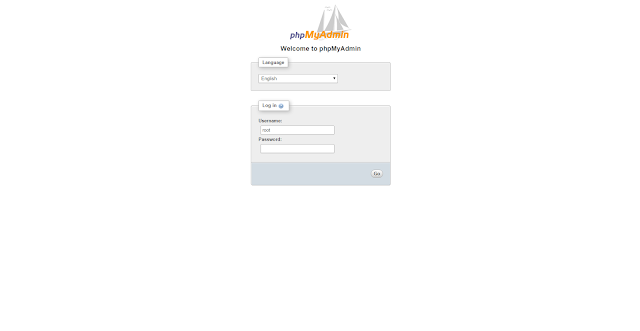
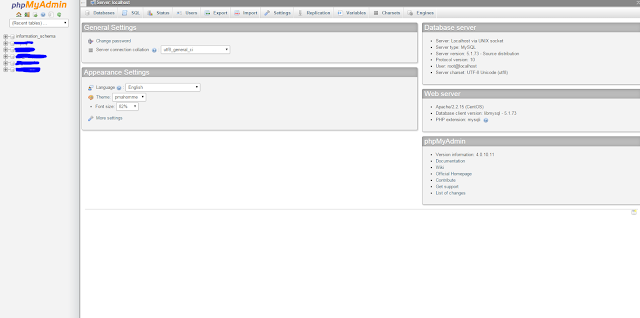
Verify that phpMyAdmin is working by visiting
http://the_IP_of_your_server/phpmyadmin. For example:
http://127.0.0.1/phpmyadmin
Redirecting
phpMyadmin to use remotely
Most of the time we use MySQL Database on the remote
server and by default phpMyadmin will not be used from the remote server to the
remote administration we needed to modify the apache to redirect the service to
the specfic web root folder so that we can access from the remote machine we
needed to modify the httpd configuration file. Here assuming that my mysql server and php
myadmin are on the server 192.168.1.84
# vi /etc/httpd/conf/httpd.conf
Add these lines
at the end of the configuration file
.......
.
.
.
.
.
<VirtualHost
192.168.1.84>
ServerName 192.168.1.84
ProxyRequests off
ProxyPass /phpmyadmin
http://127.0.0.1:808/phpmyadmin
ProxyPassReverse /phpmyadmin http://127.0.0.1:808/phpmyadmin
</VirtualHost>
:wq
Restart the apache server to apply the modifications
# service apache
restart
Now we can access the phpMyadmin from the remote machine
using http://192.168.1.84/phpmyadmin
Keywords: Mysql GUI Admin, Remote admin MySQL from remote machine, phpmyadmin, phpmyadmin on remote system


Comments
Post a Comment