AWS: How to create Free Tier Linux Instance
AWS Free Tier
The Amazon Web Services (AWS) Free Tier is designed to
enable you to get hands-on experience with AWS Cloud Services. The AWS Free
Tier includes services with a free tier available for 12 months following your
AWS sign-up date, as well as additional service offers that do not
automatically expire at the end of your 12 month AWS Free Tier term.
After creating your AWS account you can use any of the
products and services, listed below, for free within certain usage limits.
You can start today and automatically take advantage of
the AWS Free Tier by following the steps below:
1. Sign up for an AWS account.
2. Enter your billing address and credit card
information. You will not be charged unless your usage exceeds the free usage
tiers.
3. Start using AWS Cloud services, choosing from any of
the products listed below.
Some terms and
conditions of AWS Free Tier.
Amazon EC2
- Resizable compute capacity in the Cloud.
- 750 hours per month of Linux, RHEL, or SLES t2.micro instance usage
- 750 hours per month of Windows t2.micro instance usage
- For example, run 1 instance x 1 month or 2 instances x half a month
- Expires 12 months after sign-up.
Amazon S3
- Highly scalable, reliable, and low-latency data storage infrastructure.
- 5 GB of Standard Storage
- 20,000 Get Requests
- 2,000 Put Requests
- Expires 12 months after sign-up.
Amazon DynamoDB
- Fast and flexible NoSQL database with seamless scalability.
- 25 GB of Storage
- 25 Units of Write Capacity
- 25 Units of Read Capacity
- Enough to handle up to 200M requests per month.
- Does not expire at the end of your 12 month AWS Free Tier term.
AWS IoT
- New AWS Free Tier Offer
- Connect devices to the cloud
- 250,000 Messages (published or delivered) per month
- Expires 12 months after sign-up.
Amazon EC2
Container Registry
- New AWS Free Tier Offer
- Store and retrieve Docker images
- 500 MB-month of Storage
- Expires 12 months after sign-up.
for more information please visit https://aws.amazon.com/free/
Creating Instance
Steps
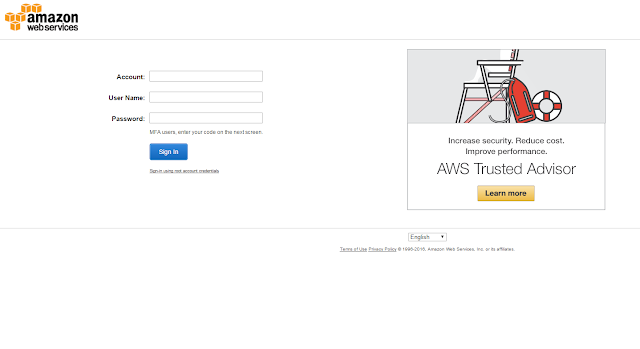
1. Log in to the account using your credentials.
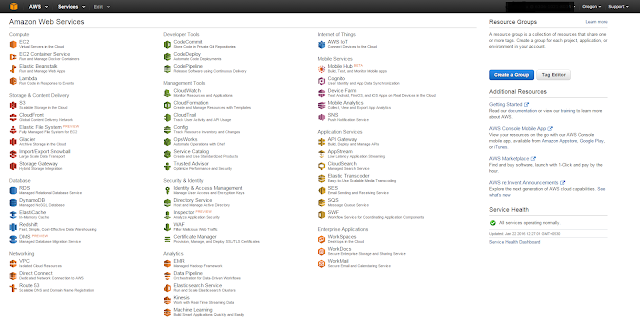
2. Once you login the screen looks like this.
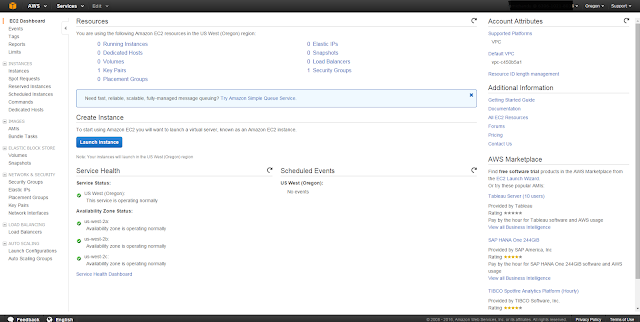
3. Click on EC2 to create instances
4. Click on Launch Instance to create a new instance.
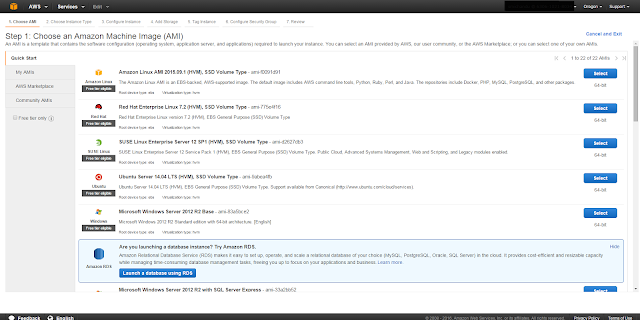
5. Here we needed to choose the Amazon Machine Image
(AMI) to create the instance type, as we planned to create Free Tier Linux
instance I am choosing Ubuntu (Free Tier eligible). Click on Select to create
the instance.
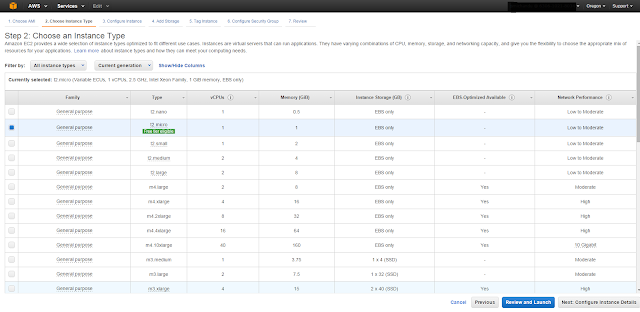
6. Here we needed to be causes to select the instance
type, select only Free tier eligible, I select t2.micro Free tier
eligible.
7. Click Configure Instance Details.
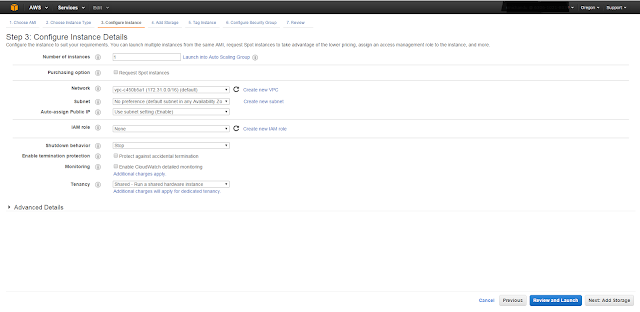
8.Here we have so many options.
a. We can select
No of Instances
b. We can go for
purchase options if we are using this instance permently.
c. we can use
VPC.
d. We can change
the subnet.
e. We can select
the Auto-assign Public IP.
f. IAM role.
g. Shutdown
behaviour.
h. Enable
termination protection
i. Monitoring
j. Tenancy
Here if we change any changes from defaults the Instance
will be converted into paid once Click on Next: Add Storage.
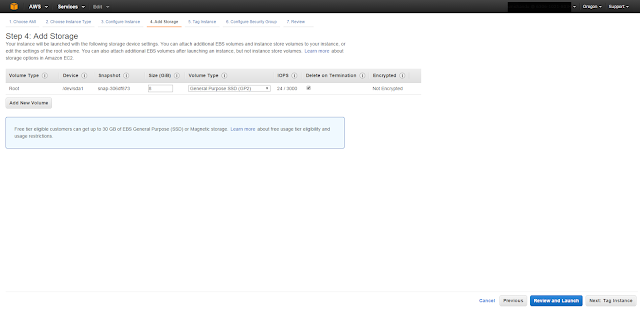
9. Here it will show the storage details if we edit some
changes in the storage it will change from free tier to paid instance so just
click on Next: Tag Instance.
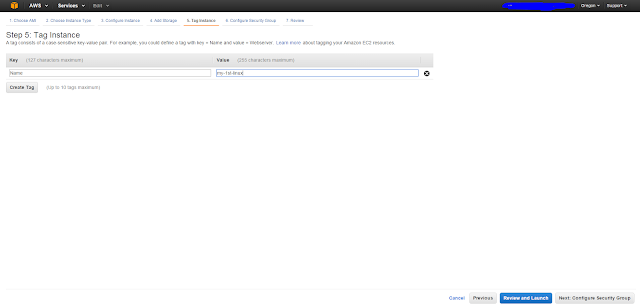
10. We can give
any name where we can find out the instance in the EC2 instance list. I given
my-1st-linux. Click Next: Configure
Security Group
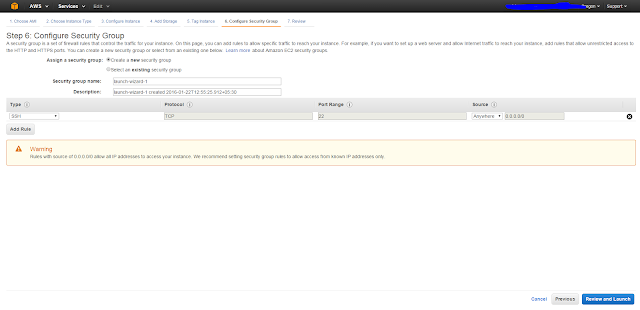
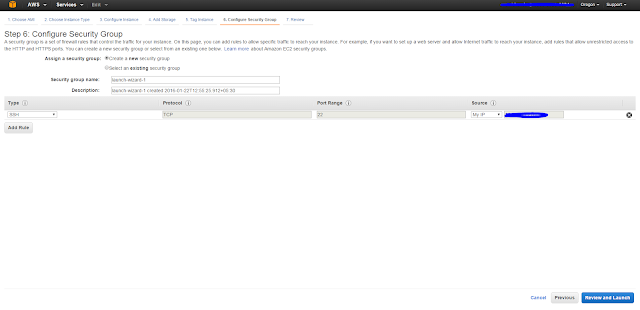
11. Security Group is a set of firewall rules where we
can decide that from where we want to allow this instance to be access and
which prots are to be access,
for example if you are using for web hosting the TCP IP
port no 80 should be access from any whare and if you are giving access to
MySQL then TCP IP port 3306 should be access from that particular IP or any
one. for securty reason I change the source from Anywhere to MyIP . Click on
Review and Launch.
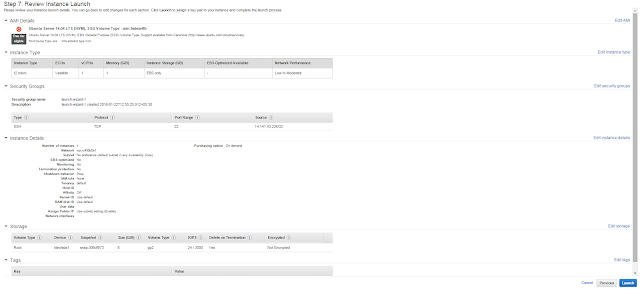
12. Here It will show all the details of the
instance if you needed to change any
thing click on Previous and change the details for click on Launch to create.
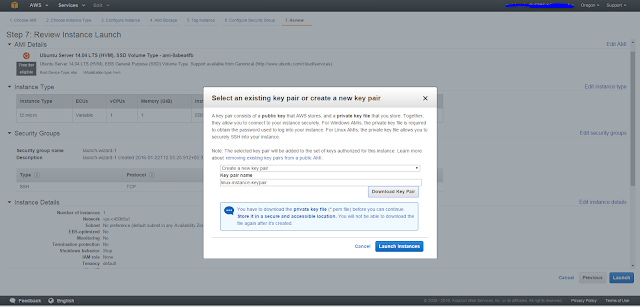
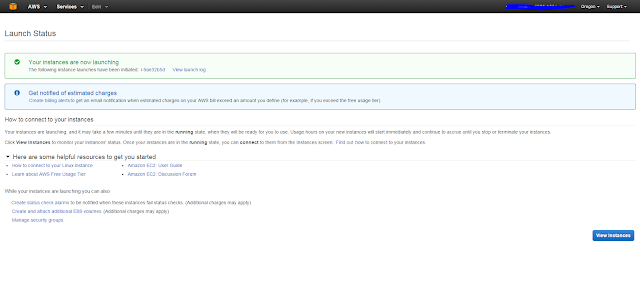
13. Here this screen will allow to chose a key pair which
is used to access the instance, Select Create a new key pair, provide the key
pair name, Click Download key pair, and Click
Launch Instance
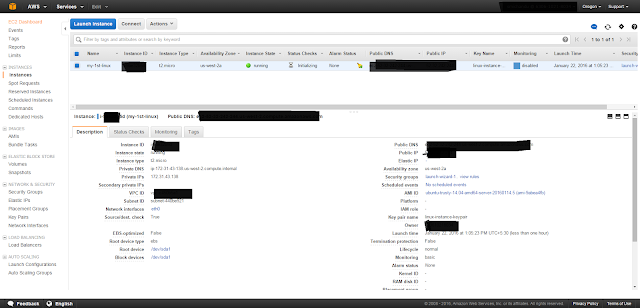
15. Here we can see the instance which we created. Click
on the instance and below we can see the instance details and information.

Comments
Post a Comment