VPN: How to setup a free & powerfull VPN server using SOFTEther VPN Server
Pre-requirements
for the SOFT ETHER VPN servers setup.
- Windows machine, with min. 1 network card and Public IP will be pulled automatically from the office network
- Download the latest software form the source site
Step-by-Step
configuration
- Double+Click on “softether-vpnserver_vpnbridge-v4.14-9529-beta-2015.02.02-windows-x86_x64-intel.exe"
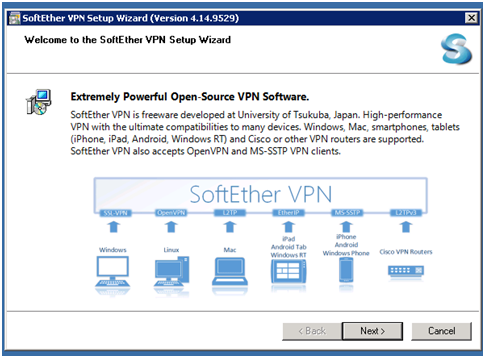
- Click Next.
- Select SoftEtherVPN Server.
- Click NEXT.
- Select I agree to the End User Aggrement
- Here we can slect the different drive if u want the log files for long timeAnd we can select if u want to use advance install options and Click NEXT.
- Click Next to proceed for the installation.
- After installation, Open SoftEther VPN server Manager.
- Click Edit settings if you have existing VPN server.
- Or click Connect
- Provide the VPN Administators password for the VPN server of your choice and click OK

- Here we have many options but we are configuring a Remote access VPN server for the local environment, Select Remote Access VPN Server and Click NEXT.
- Select create VPN hub and provide a DNS name with softether.net

- Here we can enable VPN Azure Cloud VPN for free or we can skip.
- Here we have to create the users to give access. Click on Create Users

- Create the users and if you want to use the existing Windows NT domain for authentication, create a users and select the NT Domain Authentication in Auth type and add the username which is in the Active Directory so that the password will be authenticated with AD user.
- In the Step.3 Select the Local Area Connection (LAN) so that the Local bridge has been setup.

- Now the VPN Server Manager will look like this.

HOW TO SETUP CLIENT FOR SOFTETHER VPN CLIENT
Download the client from SoftEther VPN site
- Double click “softether-vpnclient-v4.14-9529-beta-2015.02.02-windows-x86_x64-intel.exe”
- Click Next.
- Select SoftEther VPN Client.
- Click I Agree to the End Users Agreement.
- Select the Folder and path you want to install and Click NEXT
After the Installation completed.

6.
- Click Add
VPN Connection.

- Give the Settings Name
- Select the Port 5555, here we can select the port 443, 992, 1194, 5555 its depends of your choice.
- In proxy Select Direct TCP/IP connection(No Proxy).
- In User Authentication Settings.
- Select RADIUS or NT Domain Authentication.
- Give your user name and password of the AD server and click OK.
- A new VPN Connection is created on the name of seting given
- Right Click and connect to the VPN server.
Now you can enjoy the VPN connection I Hope everthing works perfectly to you.
Keywords: VPN, Free VPN, SoftEther VPN Server.

Comments
Post a Comment