5. Click on Installation Source.
6. Select Auto-detected installation media or if you have any source in your network you can specify.
7. Select the type of installation you want, for demo purpose I selected GNOME Desktop and Click DONE.
8. Click on the Installation Destination and Select the Local Standard Disks and Click on Automatically configured partitioning. and Click on DONE.
9. Click on Network & Hostname.
10. Click on ON/OFF to enable the networking while on boot. If you want to configure HOSTNAME or wanted to configure manual settings for network click on Configure.. Click DONE.
11. Click on Begin Installation, at this screen Click on Root Password and provide the password desired and Click on user creation if you wanted to create some additional users.
12. Installation will be done with selected modules after the installation, click on Reboot and wait for the system to restart.
13. After the reboot we needed to accept the license agreement. Click on License Information
14. Click on Accept the license agreement and Click on DONE.
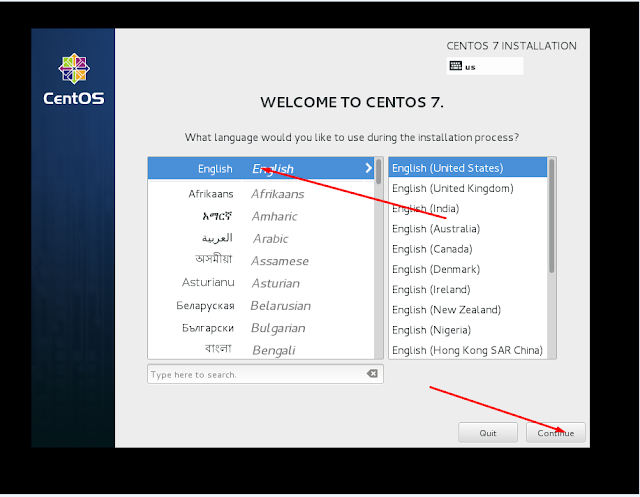
15. Select English and Click on Next to proceed.
16. Select English and Click on Next to proceed.
16. Provide the Information of the users and provide the password and click NEXT.
17. Select the Location Here I selected ASIA/KOLKATA and Click NEXT.
18.Here we can add more users to access the system & Click Next.
19. Click on Start using CentOS Linux this is all start using Linux and enjoy .
Please comment and suggestions are always welcome.
Keywords: CentOS7, CentOS 7, Latest Centos
| 


Comments
Post a Comment